
/cdn.vox-cdn.com/uploads/chorus_asset/file/24016885/STK093_Google_04.jpg)


/cdn.vox-cdn.com/uploads/chorus_asset/file/24808816/Starfield__The_Settled_Systems___Supra_Et_Ultra_____Starfield__The_Settled_Systems___Supra_Et_Ultra_2023_7_25_94252.263_1440p_streamshot.png)


As a text-to-image model, static spreads can be accessed through various websites. Screenshot by Lance Whitney/ZDNET
The popularity of generative AI has led to a number of websites and services capable of creating an image from a textual description or prompt. One option worth trying is Stable Diffusion.
How to use: Midjourney | Bing Image Creator | Dal-e 2 , Crayon AI
An effective and versatile tool, stable dissemination is available through a range of websites and as a standalone application. Just type in your description, and it generates related images. This is how it works.
Using different static dissemination websites
As a text-to-image model, static spreads can be accessed through various websites.
static spread online
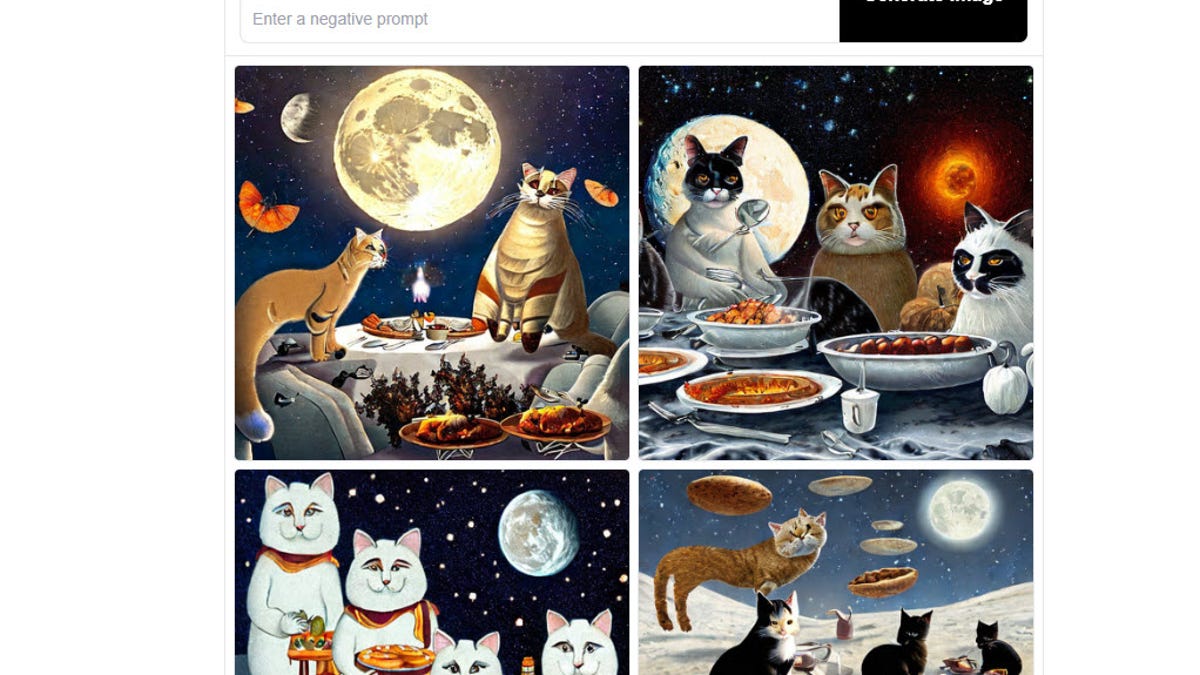
use your browser to go to static diffusion online site and click on the button that says get started for free, in the field for enter your prompt, type a description of the image you want to generate. then click generate image button. In response, the site displays four images by default.
View the generated images. Screenshot by Lance Whitney/ZDNET
Click on one of the four generated images and you can view it in larger size. You can switch between the four images by clicking on its thumbnail. Right-click the image to display your browser’s menu, which allows you to save, copy, or email the image.
If you’re not happy with any of the suggested images, try again. keep the same sign, but click generate image button to view four different images based on your description.
hug face
1. generate an image
Another website using the static diffusion model is hug face, Browse to the site and type in your details at the prompt.
You’ll notice that there’s also an area for a negative sign. Here, you can type text and suggest anything you don’t want included in the image. Click generate image button, and four images appear in response.
2. Choose an Image
Click on a specific image to view it. Right-click on the image to save or copy it.
dreamstudio
DreamStudio is another site that uses the stablecoin model. However, this time you will need to sign in with a supported account. You should also know that DreamStudio gives you a certain number of free credits that count towards creating images. If you use those credits, you’ll need to pay more to continue using the site.
Too: How to Use Bing Image Creator (And Why It’s Better Than the DALL-E 2)
browse on sustainability.ai login page, You can either log in with an existing Google or Discord account or click the sign-up link below to create a new account. After signing in with your account, you are taken to DreamStudio Website where you can login.
Before you can generate an image, you’ll want to select a few options. First, click the field for Model and choose the version of the stable release you want to use — one of the production versions or the latest beta. Next, click the Style field and choose the type of style you want for your image, such as Anime, Photographic, Comic Book, Cinematic, or 3D Model.
Too: This New Technology Could Blow Up GPT-4 and Everything Like It
Under Settings, move the first slider to set the Image size. Then move another slider to choose how many images you want to see.
1. generate an image
Type your text description at the prompt. You can also exclude some items from the image by adding a negative sign. click on ready Dream button. In response, the site displays the number of images that you selected in the settings.
View the generated images. Screenshot by Lance Whitney/ZDNET
2. Choose an Image
Click on the image to see a larger version. Right-click on the image to save or copy it.
Download and install Stable Diffusion
Instead of relying on various websites that use static spreads as a model, you can install the program on your own computer. However, be aware that setting up the application is challenging and requires a number of precise steps. The good news is that once you’re done, you can run it whenever you want and as many times as you want.
Also: The best AI art generators to try
Before getting started, you’ll need to make sure your PC meets the minimum requirements: Windows 10 or 11, and a discrete NVIDIA video card with 4GB or more of VRAM. You can check the name and model of your video card and the amount of VRAM through the DirectX Diagnostic Tool. Press Win key + R to trigger the Run box. In the open field, type dxdiag, In the DirectX Diagnostic Tool window, click the Display tab to see the name of your card and the amount of VRAM.
If your card is up to snuff, follow these steps:
1. Install Python
browse on Python 3.10.6 website, Scroll down to the File section and click on the link for Windows Installer (64-bit) (Assuming you are running 64-bit Windows). Run the downloaded file to install Python.
2. Install Git
browse on Download page for Git for Windows, click on the link 64-bit Git for Windows setup, Install the downloaded file, accepting all the default options.
3. Download the Stable Diffusion Project File
browse on GitHub page for the static spread project file, Click on the green code button in the top right and choose download zip, Extract the downloaded zip file. By doing this a folder named stable-diffusion-webui-master is created. Copy this folder with all the extracted files to a simple location, such as the root of your C: drive.
4. Download and set up the checkpoint file
browse on Hugging Face webpage for static diffusion checkpoint file, Click on the Download link to save the 768-v-ema.ckpt file. This is a large file, so be patient while it downloads. Once the file is downloaded, navigate to the following location: C:\stable-diffusion-webui-master\models\Stable-diffusion (assuming you copied this folder to the root of your C: drive). Inside this folder is a file named Put Stable Diffusion Checkpoints Here.text. Copy the 768-v-ema.ckpt file to this folder.
5. Download config yaml file
browse on Page for configuration YAML file, The file will appear as plain text. Right-click anywhere on the page and choose save as, Navigate to C:\stable-diffusion-webui-master\models\Stable-diffusion folder and save the yaml file to this location. Rename the file to 768-v-ema but keep the yaml extension, so it should be named 768-v-ema.yaml.
6. Run webui-user.bat file
Go to the static-spread-webui-master folder and run the webui-user.bat file. After a few minutes, the window should display a line that reads: running on local url, followed by a URL with your local machine’s IP address and port number. Copy and paste that entire URL along with the port number into your favorite browser to display the static distribution application. However, keep the command window open.
7. Generate an Image
Now you can finally generate an image. In the Static Diffusion application, type the description for the image you want at the prompt. Enter any text you want to exclude in negative sign. If you want, you can change the sampling method, width, height and other parameters. Set values for Batch Number and Batch Size if you need to change the default. click on ready Make button. The application displays images based on the count you request.
Create and view images. Screenshot by Lance Whitney/ZDNET
Peek around the static Diffusion app and you’ll find tons of other options, including uploading an image to generate variations of it, scaling and otherwise tweaking an image, and tapping into various extensions.

Too: Meta’s new AI model can identify objects in images. here’s why it matters
If you find an image you like, click on it to enlarge it. Click on the Save or Zip button to save it. Otherwise, all generated images are automatically saved in a folder that you can access by clicking on the Folder button.
View all saved pictures. Screenshot by Lance Whitney/ZDNET
Too: How to use ChatGPT: Everything you need to know
